How to Use Al to Create 3D Printable Designs : No CAD Modeling Skills Needed

What if you could create intricate, professional-grade 3D printable designs without years of sculpting experience or expensive software? It might sound too good to be true, but AI is transforming 3D design, making it accessible to anyone with a creative idea. Planet 3DP breaks down how artificial intelligence can transform your concepts into stunning, tangible models ready for 3D printing. From futuristic helmets to ornate decorative objects, this approach opens up a world of possibilities for hobbyists, designers, and innovators alike. Whether you’re a seasoned maker or just dipping your toes into 3D printing, AI offers a faster, smarter way to bring your ideas to life.
In this how-to guide, you’ll discover a step-by-step process for harnessing the power of AI to generate detailed 3D meshes, refine them for printing, and even customize your designs with unique textures and features. Learn how to craft precise prompts that guide AI to produce exactly what you envision, convert 2D sketches into dimensional models, and optimize your creations for seamless printing. Along the way, you’ll uncover tips for reducing material waste, enhancing durability, and adding finishing touches that make your designs truly stand out. The possibilities are endless, what will you create?
AI-Powered 3D Design Workflow
TL;DR Key Takeaways :
- AI tools like Nano Banana, Trio 3D, Luben, and Bamboo Studio simplify the 3D design workflow, making it accessible for users without prior modeling experience.
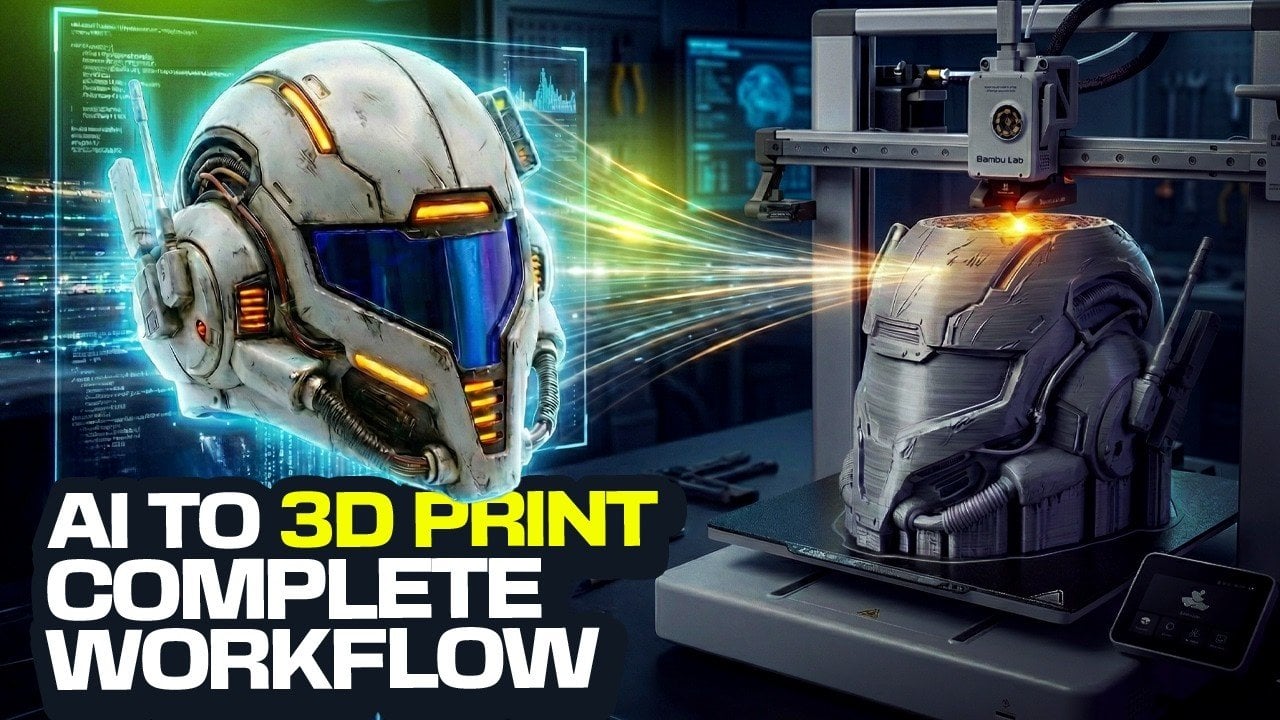
- The workflow involves four key stages: generating AI-driven designs, converting 2D images into 3D models, preparing models for printing, and optimizing printer settings.
- Crafting precise AI prompts is crucial for generating functional and visually appealing designs, with customization options for intricate details and unique aesthetics.
- Tools like Trio 3D and Luben help transform concepts into printable models by preserving details, optimizing geometry, and reducing material waste.
- Post-processing techniques, such as sanding, painting, and adding textures, enhance the final product, making sure professional-quality results for display or practical use.
Streamlining the Workflow with AI Tools
AI tools like Nano Banana, Trio 3D, Luben, and Bamboo Studio simplify the traditionally complex process of creating 3D printable models. The workflow is divided into four essential stages:
- Generating designs using AI-driven prompts
- Transforming 2D images into 3D models
- Preparing models for 3D printing
- Optimizing printer settings for production
By following this structured approach, you can save time, reduce material waste, and produce highly detailed, customizable designs that meet your specific needs.
1: Crafting Precise AI Prompts
The foundation of AI-assisted design lies in crafting effective prompts. These prompts guide the AI in generating designs that align with your vision. For instance, when designing a helmet, include specific details such as style, material, geometry, and unique features. Examples of prompts include:
- “A sleek, futuristic helmet with aerodynamic curves and metallic textures” for a modern, high-tech aesthetic.
- “A medieval knight’s helmet with ornate engravings and a visor” for a historical and detailed design.
Experimenting with variations in your prompts allows you to refine the output and achieve the desired look. This step is critical for making sure the AI generates designs that are both functional and visually appealing.
How to Use AI to Create 3D Printable Designs

Dive deeper into AI design workflows with other articles and guides we have written below.
- Guide to Creating Responsive Apps with Figma Make AI in 2025
- How Claude Code and n8n Simplify Complex Workflow Processes
- n8n’s Model Context Protocol: The Future of Workflow Automation
- How to Create Stunning Presentations & Websites with Gamma AI
- Google Stitch vs Figma : AI UI Design Comparison and Guide
- Gemini 3 Guide : Building AI Web Sites, Wireframes, Sections
- ShadCN Guide, Stitch Prototypes and Exports to Popular AI Tools
- Google Stitch Free AI-Powered UI Design Tool Launches
- 5 Nano Banana Pro Tips to Transforms Your UX/UI Design Workflows
- Use Gemini 3 to Build Web Sites & Apps Quickly with Firecrawl
2: Converting 2D Designs into 3D Models
Once you have a design concept, the next step is transforming it into a 3D model. Tools like Trio 3D excel at converting 2D images into detailed 3D meshes. Begin by creating orthographic views (front, side, and back) of your design to maintain consistency in the model’s geometry. These views ensure that the final 3D model accurately represents your concept.
Trio 3D is particularly effective at preserving intricate details while adding depth and dimension, making it ideal for 3D printing. This step bridges the gap between conceptual design and a tangible, printable model.
3: Preparing Models for 3D Printing
Before printing, your model must be optimized to meet technical requirements. Luben is a versatile tool that offers several features to prepare your design, including:
- Hollowing models to reduce filament usage and overall weight
- Adjusting wall thickness to enhance durability
- Adding ventilation holes for wearable items like helmets
After making these adjustments, import the model into Bamboo Studio to fine-tune support structures and ensure the design is optimized for printing. Proper preparation minimizes errors during the printing process and enhances the quality of the final product.
4: Fine-Tuning 3D Printing Settings
Achieving high-quality results requires careful adjustment of your 3D printer’s settings. Bamboo Studio provides tools to optimize parameters such as:
- Layer height to control surface smoothness
- Infill density to balance strength and material efficiency
- Support material placement for complex geometries
For wearable items like helmets, scaling the model to fit the intended user is essential. Additionally, addressing common issues such as uneven surfaces or gaps during this stage can save time and prevent material waste, making sure a successful print.
5: Unlocking Creative Customization
AI tools offer limitless opportunities for creative customization, allowing you to explore unique designs and themes. For example, you can create Star Wars-inspired helmets by incorporating specific elements into your prompts. Experiment with variations to achieve distinctive results, such as:
- Adding intricate patterns or engravings
- Exploring unconventional shapes and forms
- Layering textures to enhance visual depth
This flexibility enables you to push creative boundaries while maintaining functionality, resulting in truly personalized and innovative designs.
6: Enhancing the Final Product with Post-Processing
Once your model is printed, post-processing techniques can elevate its appearance and functionality. Common methods include sanding, smoothing, and painting. For instance:
- Metallic paint can give a futuristic helmet a polished, high-tech finish.
- Weathering effects can add authenticity to historical designs, such as medieval helmets.
These finishing touches ensure your 3D print looks professional and visually striking, making it suitable for display, wear, or other practical applications.
Empowering Creativity with AI and 3D Printing
AI-powered tools have made 3D design and printing more accessible and efficient than ever before. By following a structured workflow, from crafting precise prompts to post-processing, you can create intricate, high-quality models with ease. Whether you are a hobbyist exploring creative possibilities or a professional seeking innovative solutions, these techniques enable you to produce stunning, wearable 3D prints that combine functionality with artistic expression.
Media Credit: Planet 3DP
Latest Geeky Gadgets Deals
Disclosure: Some of our articles include affiliate links. If you buy something through one of these links, Geeky Gadgets may earn an affiliate commission. Learn about our Disclosure Policy.